Planning your project
Floor transitions and thresholds between rooms
Modern Wood Flooring team · Published October 16, 2026

Use a T-molding where two floors meet at the same height, a reducer where one floor sits higher than the other, and an end cap or threshold against doors, carpet or tile edges. Plan finished heights before ordering, since a large height difference may need subfloor work, not just trim. Floating floors also need transitions that leave room to move.
Transitions are small pieces, but they are where floors meet, where people trip and where floating floors need room to expand. Getting them right is mostly a matter of planning heights and layout before the new floor goes down.
What are the main types of floor transitions?
Names vary between manufacturers, but most transition pieces fall into a handful of shapes. Many flooring lines offer coordinating trims made to match the floor's color and finish.
| Transition | What it does | Typical place |
|---|---|---|
| T-molding | Bridges two floors of about the same height and covers the expansion gap between them | Doorways between rooms with the same or similar floors |
| Reducer | Slopes down from a higher floor to a lower one | Wood or vinyl meeting thinner flooring, concrete or an old floor |
| End cap or square nose | Finishes a floor edge cleanly against a vertical surface or a different floor | Sliding doors, hearths, carpet edges, tall tile |
| Threshold or saddle | A separate strip, often stone or wood, set across a doorway | Bathroom doorways, entry doors, apartment doors |
| Stair nose | Covers the front edge of a step or landing | Stairs, sunken rooms, platform edges |
| Multi-purpose trim | One profile that can be cut or assembled into several of the above | Common with vinyl plank lines |
Wall trim is related but separate. Baseboard and shoe molding or quarter round cover the expansion gap at the walls, while transitions handle the edges in the middle of the floor plan.
How do you handle different floor heights?
Height differences are the most common transition problem. Start by working out the finished height of every floor that will meet another one. For each floor, add up the flooring thickness, any underlayment, any adhesive or leveling layer, and whatever stays in place underneath. Then compare the rooms.
- Same or nearly the same height: a T-molding usually works, and keeps the look continuous.
- A small difference: a reducer or a multi-purpose trim set up as a reducer handles it.
- A larger difference: consider leveling or building up the lower subfloor, removing old layers from the higher side, or choosing a thicker or thinner product so the floors land closer together.
- Against something that cannot change, such as a stone saddle or an exterior door sill: an end cap or a reducer sized to that edge.
Large or abrupt changes in level are trip hazards. In many commercial and public spaces, accessibility standards limit how high a change in floor level can be before it must be beveled or ramped. Those rules may not apply inside a private home, but they are a useful guide for anyone with limited mobility, small children or older relatives.
Check door clearances while you plan heights. A new floor plus underlayment can stop a door from swinging, and a raised kitchen floor can trap a dishwasher or other appliance under the counter. Doors may need trimming, and appliance spaces should be planned with the installer.
Why do floating floors need transitions at doorways?
Floating floors, including click-together engineered wood and many vinyl planks, expand and contract slightly as temperature and humidity change. Manufacturers require a gap at the walls and at fixed objects. Many also require a break, covered by a T-molding, at doorways or after a maximum run length in one direction, so that each section can move on its own. Some products allow long continuous runs without breaks, so read the specific installation instructions before deciding.
Glue-down and nail-down floors are fixed in place and move less as a unit, so they can often run through doorways without a break, with trim used only where materials or heights change. Our guide to floating, glue-down and nail-down installation compares the methods.
What happens where wood meets tile or vinyl?
Kitchens and bathrooms are where materials usually change. Tile is often thicker than wood or vinyl once its setting bed is included, so a reducer or end cap is common at the edge. Where solid hardwood or engineered wood meets vinyl plank, the difference in thickness decides whether a T-molding or a reducer fits better. Some people avoid the question in open layouts by running one waterproof material through the kitchen and living area; our guide to the best flooring for kitchens covers that choice.
The location of the change matters too. The usual approach is to put it directly under a closed door, centered on the door slab, so neither material is visible from the other room.
What should you know about NYC apartments and brownstones?
Many older New York apartments have marble saddles at bathroom doorways, and bathroom floors in prewar buildings often sit higher than the rooms around them. If the saddle stays, the new floor needs to finish neatly against it, usually with an end cap or reducer, and the saddle's height sets a fixed point for the plan. Replacing a saddle is possible but involves the bathroom side as well.
In brownstones and row houses, such as those in Park Slope, floors often carry layers from past renovations: old plank or parquet under newer flooring, plywood, or vinyl in kitchens. Removing layers in one room and not the next creates a height step. Old wood floors over joists can also be out of level from room to room, which a single transition cannot fully hide. Deciding what comes up, and what stays, is the first step. Our guide on whether to refinish or replace brownstone floors may help.
In co-ops and condos, check the alteration agreement as well. Some buildings have rules about the apartment entry door and its saddle, since it meets the public hallway.
How should you plan transitions before installation?
- Walk the space and mark every place where the new floor meets another floor, a door sill, stairs or a hearth.
- Note what is on each side now and what will be there after the job.
- Work out the finished height on both sides of each location.
- Decide whether any subfloor leveling, build-up or layer removal is needed to bring heights closer.
- Choose a transition type for each spot and confirm the floor's manufacturer offers it, or plan an alternative such as a custom wood piece.
- Count the pieces and their lengths, and add them to the flooring order so they arrive together.
- Check door and appliance clearances with the installer.
Bring the list when you choose your floor. It is much easier to ask whether matching trims are available for a product before you commit to it. Our guide to preparing for installation covers the rest of the planning.
Common questions
What is the difference between a T-molding and a reducer?
A T-molding joins two floors of about the same height and covers the gap between them. A reducer slopes from a higher floor down to a lower one.
Do I need a transition at every doorway?
Not always. Many floating floors require a break at doorways or after a maximum run length, while glue-down and nail-down floors can often run through. Follow the product's installation instructions.
Where should the transition go in a doorway?
The usual practice is to place it under the closed door, centered on the door slab, so the change in material is not visible from either room.
Can I match the transition to my floor?
Many flooring lines offer coordinating moldings in the same color and finish. Availability varies by product, so ask before you choose the floor.
What if the height difference is too big for a reducer?
Bring the floors closer together by leveling or building up the lower subfloor, removing old layers, or choosing a different thickness. A steep transition is a trip hazard.
Floors this guide covers


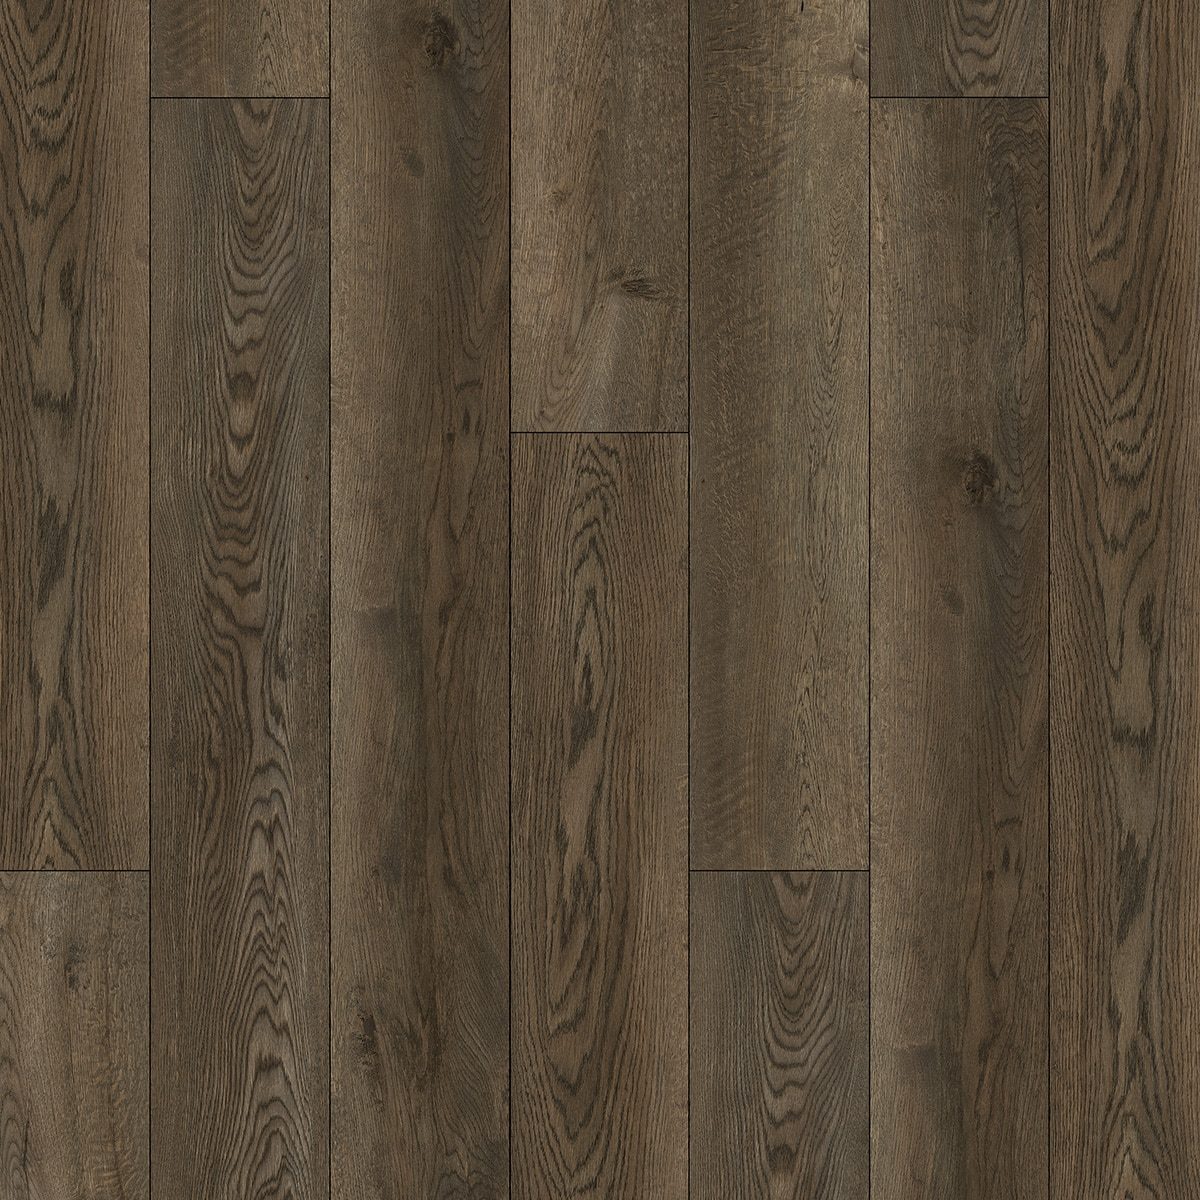
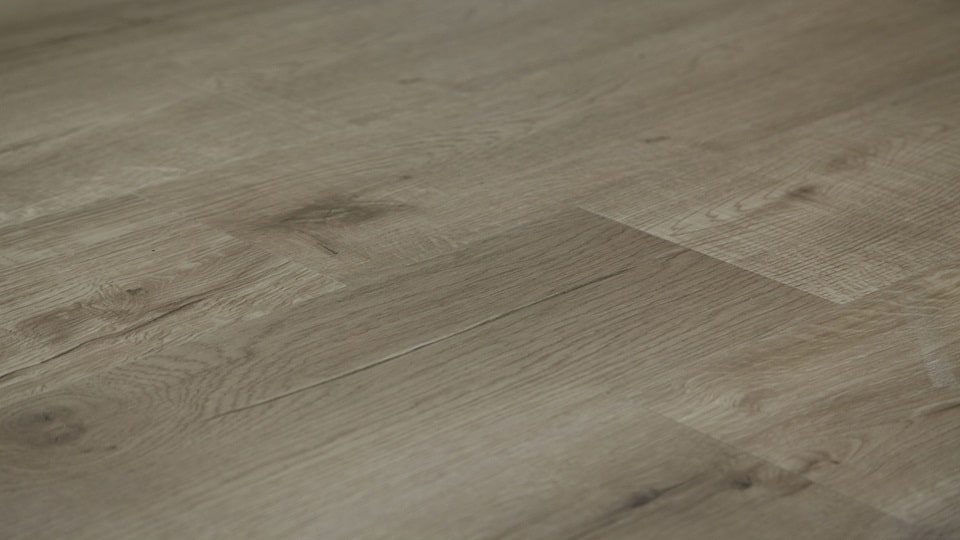


Examples from the current catalog in these material families; specifications on each product page are as listed by the manufacturer.
Related guides
All guides